


ABOUT US
Founded in 2003, Mindcracker is the authority in custom software development and innovation. We put
best practices into action. Solutions we deliver are based on consumer and industry analysis. Please
allow us to join you during your discovery phase, so we can help you to assess the situation, remove
inefficiencies and identify new market opportunities that will significantly impact your bottom line.
SERVICES

Blockchain Consulting and Training
Hire us to develop blockchain-based applications and smart contracts or deliver blockchain-related on-site or off-site consulting and training
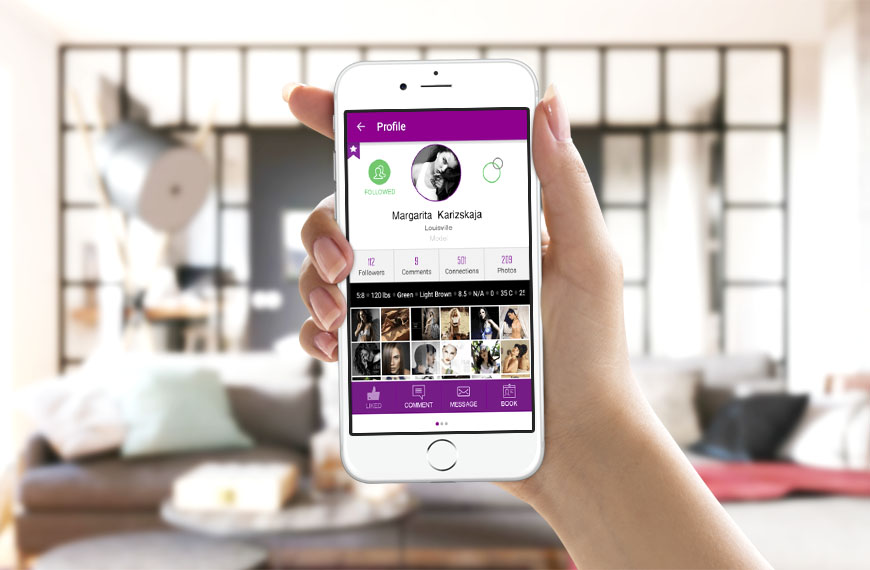
Intelligent Cloud and Smart Apps
Count on us for intelligent cloud solutions, including mobile apps and Alexa skills powered by artificial intelligence (AI) and machine learning

Startup and Innovation Advisors
Bring us in at the get-go as technology advisors to guide the direction of your product or application or as a sounding board for your concepts
TESTIMONIALS
Mindcracker gave us a world-class web presence by building us a fully scalable and optimized website. We were fortunate to find a partner we could trust to guide our technology decisions and to deliver on time.

Mindcracker is a very professional and expanding company. We are very satisfied and happy to have them as as our offshore development partner.

Mindcracker always delivers! They work fast and furiously on both prototyping and final projects. I highly recommend using Mindcracker.

CLIENTS


CONTACT US
Let’s have a conversation about your project, idea or needs.